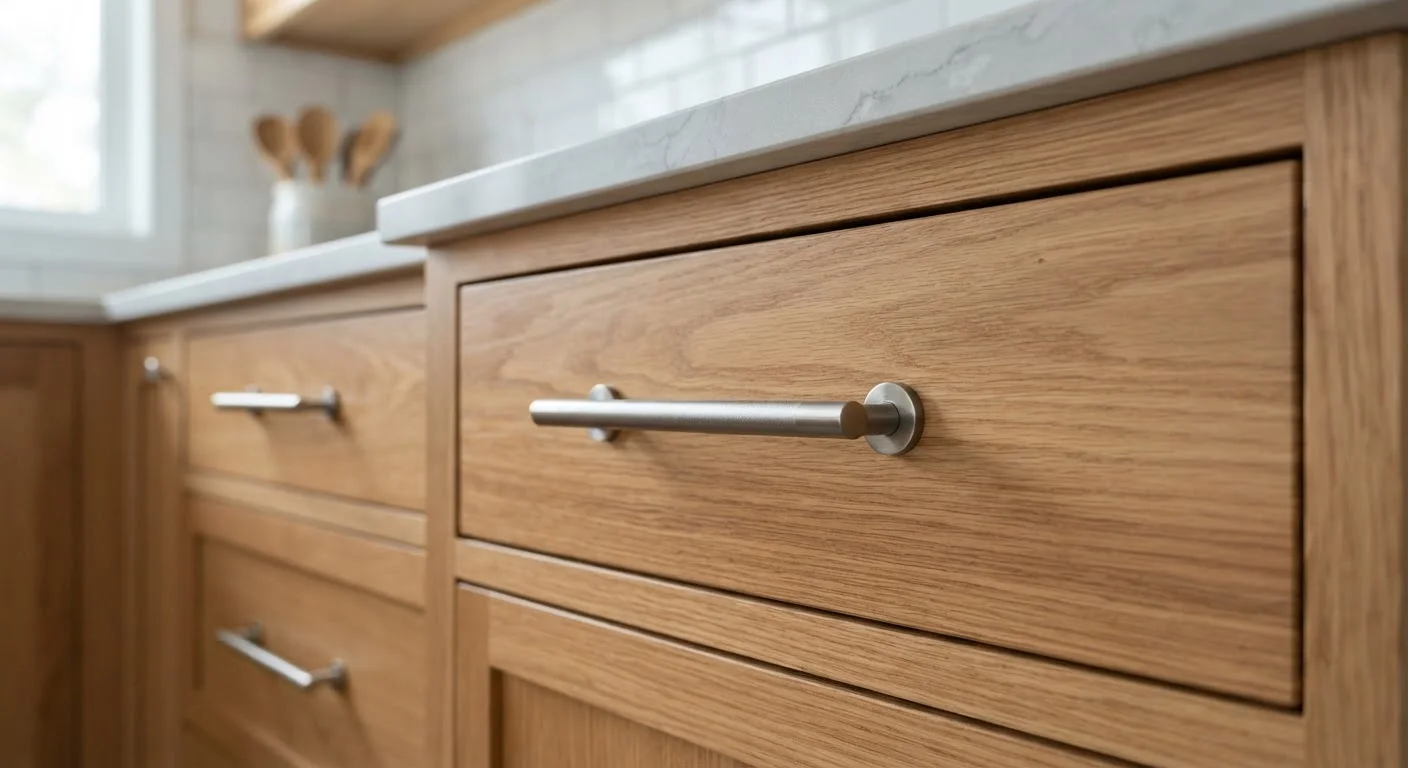
Why Cabinet Hardware Makes Such a Big Difference
Cabinet hardware is one of those details that defines how a room feels without dominating what you see. Outdated brass knobs can make a kitchen look decades older than it actually is, while swapping them for sleek matte black pulls or simple brushed nickel knobs can make the same cabinetry look intentional and current - no painting or remodeling required.
Because the hardware touches every drawer and door in a room, even small visual improvements multiply quickly. A kitchen with 20 cabinet pulls replaced consistently looks noticeably more finished than one with a handful of mixed styles. Best of all, this is a project that doesn't require special skills, and mistakes are correctable.
Start With One Room for Practice
If you've never replaced cabinet hardware before, start with a bathroom vanity rather than a full kitchen. Fewer pieces mean faster completion and a confidence-building first success. The skills transfer directly to larger rooms once you're comfortable with the process.
What You'll Need Before You Start
Gather the right tools and information before purchasing anything. The most common mistake homeowners make is buying hardware that doesn't match existing hole spacing, which means unnecessary drilling or returns.
What you will need
Screwdriver (flathead and Phillips)
Removing old hardware and securing new screws by hand for better torque control.
Drill with drill bits
Drilling new screw holes if the new hardware doesn't match old hole positions.
Hardware installation jig (drill template)
Ensuring consistent hole placement across all cabinet doors and drawers.
Tape measure
Measuring center-to-center hole spacing to match or replace existing pull hardware.
Painter's tape and pencil
Marking drill points and transferring measurements without damaging cabinet surfaces.
Step-by-Step: Replacing Cabinet Pulls, Knobs, and Hinges
Follow these steps in order. Each one builds on the last to ensure consistent results across every cabinet in the room.
Measure Your Existing Hardware
For pulls (which have two screws), measure the center-to-center distance between the two screw holes in millimeters or inches. Common spacings are 3 inches (76mm), 3.75 inches (96mm), and 5 inches (128mm). Write this number down - it's the most critical measurement you'll take.
For knobs (single screw), hole placement matters less, but note the screw thread size if you want an easy swap with no re-drilling.
Remove the Old Hardware
Open each cabinet door or drawer fully. Use a screwdriver - manual or power - to remove the screws from inside the cabinet or drawer face. Keep screws sorted by type in case any new hardware reuses existing fasteners. Set old hardware aside; don't discard it until the new pieces are confirmed to fit.
Test Fit One Piece Before Installing All
Before committing to the full room, install a single pull or knob on one representative cabinet. Confirm the holes align, the hardware sits flush, and the screw length is appropriate. Screws that are too long can push through the front face of the drawer; screws that are too short won't grip securely.
Most hardware ships with standard-length screws, but extension screws are widely available if your cabinet faces are thicker than average.
Install All Remaining Hardware
Work systematically - one row or one cabinet section at a time. Tighten screws snugly but not aggressively. Check each piece visually for alignment before moving on. If a pull is slightly crooked, loosen, adjust, and re-tighten before the next one.
For hinges, remove the old hinge completely and note whether it's face-mount, inset, or European-style (the most common in modern cabinetry). European cup hinges clip in and out without tools once the mounting plate is installed, making replacement especially straightforward.
Do a Final Check and Clean Up
Once all hardware is installed, open and close every door and drawer to verify smooth operation. Tighten any loose pieces. Wipe down all hardware with a soft dry cloth to remove fingerprints from installation.
If any holes from old hardware are now exposed and unfilled, a small dab of wood filler tinted to match the cabinet color will conceal them cleanly.
Choosing a Hardware Style That Works for Your Space
Hardware style should complement the room's existing character rather than fight it. Shaker-style cabinets pair naturally with simple bar pulls or cup pulls. Raised-panel traditional cabinets often suit bin pulls or oval knobs. Flat-front modern cabinets look cleanest with long linear pulls or recessed edge pulls.
Finish coordination matters more than matching exactly. It's acceptable - and often preferable - to mix hardware shapes as long as the finish is consistent. If your faucet and light switch plates are brushed nickel, carry that tone through your cabinet hardware for a cohesive look. If you're starting fresh, pick one finish and commit to it across the entire room.
Avoid Mixing Too Many Finishes
It can be tempting to combine trendy finishes like matte black and gold for a designer look, but this approach is difficult to execute well without professional design experience. For most rooms, committing to a single consistent finish throughout - including light fixtures and faucets - produces the most polished result.