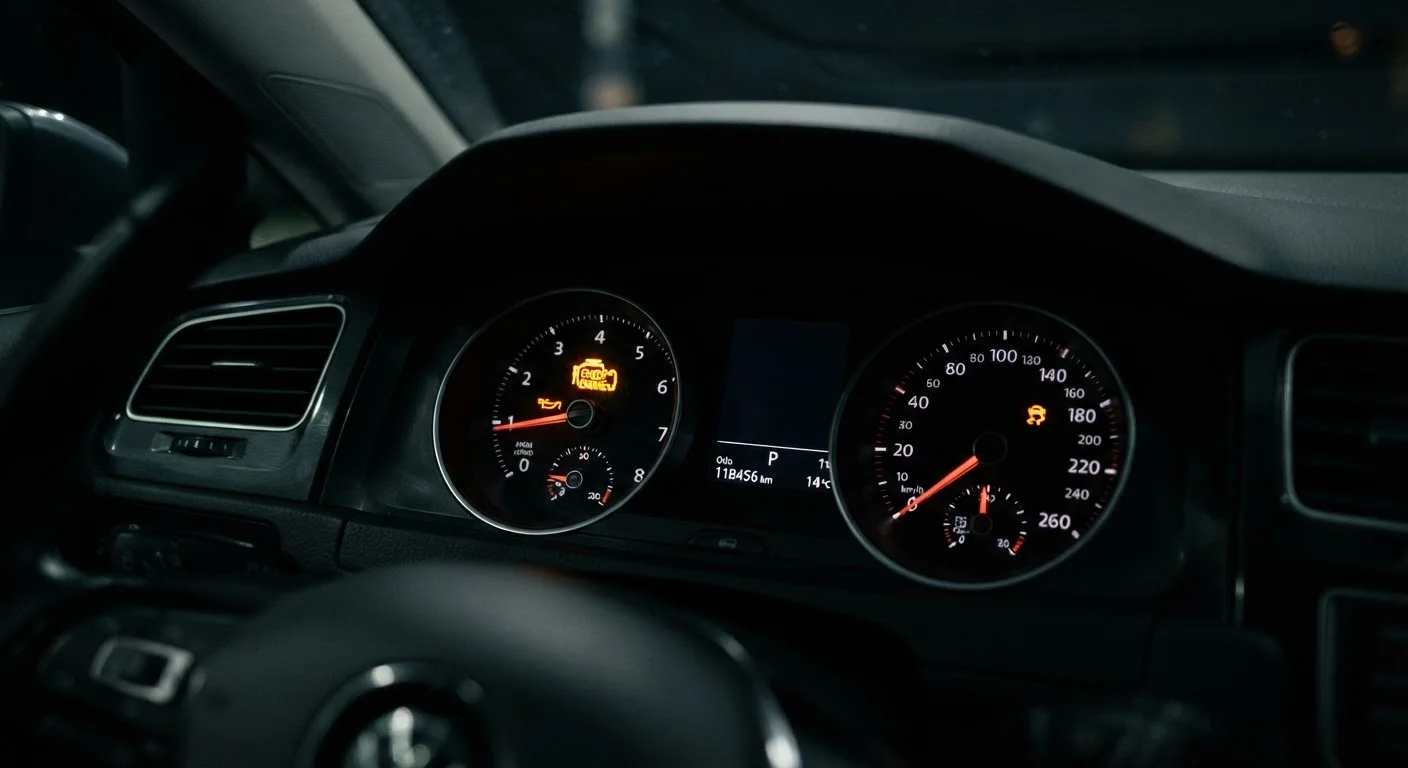
Why the Light Exists - and What It's Actually Monitoring
Your vehicle's onboard computer - called the ECU (Engine Control Unit) - continuously monitors dozens of sensors throughout the engine, transmission, and emissions systems. When any sensor reading falls outside an expected range, the ECU logs a diagnostic trouble code and switches on the check engine light to alert you.
The light is not specific by design. It's a single indicator covering a wide range of possible faults, from a loose gas cap to a misfiring cylinder. Think of it as a flag, not a diagnosis. It tells you the system detected something worth investigating - not precisely what that something is.
This is part of the OBD-II standard, which has governed vehicle diagnostics in the U.S. since 1996. The standardization means any compliant scan tool can read codes from any compatible vehicle, regardless of make or model.
Solid vs. Flashing: The Difference Matters
The behavior of the light carries important information on its own, before you ever read a code.
- Steady light: The system has detected a fault, but it's not categorized as immediately damaging. You generally have time to drive cautiously and schedule a diagnostic appointment within the next day or two - though the sooner the better.
- Flashing or blinking light: This indicates an active, serious condition - most commonly an engine misfire severe enough to damage the catalytic converter. Reduce speed, avoid heavy acceleration, and have the vehicle inspected as soon as possible. Continued driving under these conditions can convert a manageable repair into a very costly one.
Watch for Multiple Warning Lights Together
If other warning lights appear alongside the check engine light - such as the temperature gauge spiking or the oil pressure light - pull over safely and do not continue driving until those conditions are assessed. Multiple simultaneous warnings often indicate a more serious situation.
If other warning lights appear alongside the check engine light - such as the temperature gauge spiking or the oil pressure light - pull over safely and do not continue driving until those conditions are assessed. Multiple simultaneous warnings often indicate a more serious situation.
Common Causes, Ranked by Frequency
While only a scan tool can confirm the specific fault code, some causes appear far more often than others:
- Loose or faulty gas cap - One of the most common and easiest fixes. A missing or improperly sealed gas cap allows fuel vapors to escape, triggering an evaporative emissions fault.
- Oxygen sensor failure - O2 sensors monitor exhaust gases to help the engine manage fuel mixture. They wear out over time and are among the most frequently replaced sensors.
- Catalytic converter issues - Often a downstream symptom of other problems, such as a failing O2 sensor or persistent misfires. Catalytic converter replacement is typically one of the more expensive repairs.
- Mass airflow sensor fault - This sensor measures how much air enters the engine. Dirt or contamination can cause inaccurate readings and trigger the light.
- Spark plugs or ignition coils - Worn spark plugs or a failing ignition coil cause misfires, which the ECU detects quickly.
~40%
Check engine lights linked to oxygen sensor faults
Industry diagnostic data consistently identifies oxygen sensor faults as among the leading causes of check engine light activations in passenger vehicles.
1996
Year OBD-II became standard in U.S. vehicles
The EPA mandated OBD-II compliance for all cars and light trucks sold in the United States beginning with the 1996 model year.
Thousands
Possible diagnostic trouble codes in OBD-II system
The OBD-II specification defines hundreds of standardized codes, with manufacturers adding additional proprietary codes - making professional interpretation important.
What to Do When the Light Comes On
Follow a simple sequence rather than guessing or panicking:
- Check the gas cap first. Remove it, inspect the seal, and retighten firmly. If it was loose, clear the code after a few drive cycles and see if the light returns.
- Read the fault code. An OBD-II scanner - available at most auto parts retailers - will pull the stored code immediately. Many retailers also offer free in-store code reading. Write down the code and look up its general meaning.
- Note any symptoms. Is the engine running rough? Is fuel economy noticeably worse? Any unusual sounds or smells? This context helps a mechanic narrow the diagnosis faster.
- Schedule a professional diagnosis. A fault code points toward a system, not always a specific failed part. A qualified technician verifies the root cause before recommending a repair.
When you do bring the vehicle in, being informed about the process helps you evaluate what you're being told. See our guide to reading a mechanic's estimate to understand diagnostic fees, labor rates, and parts options before you authorize any work.
Also worth noting: if unusual sounds accompanied the light turning on, this reference on common vehicle noises can help you describe the symptom more precisely to your mechanic.