Matching the Method to the Damage
Not every wall wound calls for the same fix. Using too heavy a product on a tiny hole wastes time and can leave a bumpy finish, while using too light a product on a large gap will crack and fail. Breaking repairs into three size categories keeps the process straightforward.
- Tiny holes (nail holes, small dents, screw pops): Up to about ¼ inch. These need nothing more than lightweight spackling compound and a putty knife.
- Medium holes (doorknob dings, anchor pull-outs): Roughly ½ inch to 4 inches across. A self-adhesive fiberglass mesh patch backed with joint compound is the most reliable solution.
- Large holes (fist-sized gaps, accidental kick-throughs): Anything bigger than 4 inches. These require a solid backing piece and a cut drywall patch to restore structural integrity.
Choosing the right filler also matters. Spackling vs. joint compound behave very differently - understanding which product suits your repair will save you from rework later.
What you will need
Tools and Materials You'll Need
Gather everything before you start so you're not hunting for supplies mid-repair. The exact items vary slightly by method, but the list below covers all three size categories.
Putty knife (3-6 inch)
Applies and smooths spackling or joint compound over patches of all sizes.
Drywall knife or utility knife
Cuts drywall cleanly when making a replacement patch for large holes.
Self-adhesive fiberglass mesh patch
Provides a stable base for joint compound over medium-sized holes without needing a backer.
Drywall backer board or furring strip
Screws behind the wall opening to support a replacement drywall patch on large holes.
Lightweight spackling compound
Fills nail holes and small dents quickly with minimal shrinkage.
All-purpose joint compound
Used to embed mesh patches and build up coats over medium and large repairs.
120-grit and 220-grit sandpaper
Smooths compound between coats and prepares the final surface for priming.
Drywall primer
Seals the repaired area so topcoat paint absorbs evenly without flashing.
Step-by-Step Patching Instructions
Follow the steps below in order. The early steps apply to all hole sizes; the instructions branch where the approach differs. Read through completely before starting so you can skip any steps that don't apply to your repair size.
Clean and Prep the Damaged Area
Use your putty knife or fingers to remove any loose paper facing, crumbled gypsum, or protruding nails around the hole. For nail pops, drive the nail slightly below the surface with a hammer and nail set - don't pull it out. Wipe the area with a dry cloth to remove dust. A clean surface ensures better adhesion for any compound or patch.
Fill Nail Holes and Small Dents (Under ¼ Inch)
Scoop a small amount of lightweight spackling compound onto your putty knife. Press it firmly into the hole, then drag the blade across at a slight angle to leave the surface flush or barely proud of the wall. One thin application is usually enough for very small holes. Let it dry completely - it will shrink slightly and turn from pink or gray to white as it cures. Sand smooth with 220-grit paper once dry. Skip to Step 6 if this covers your repair.
Apply a Mesh Patch for Medium Holes (½ to 4 Inches)
Peel the backing off a self-adhesive fiberglass mesh patch and center it over the hole, pressing it firmly against the surrounding wall. The mesh should extend at least an inch beyond the damage on all sides. Once placed, the patch is your base - do not skip this step or the compound will simply sink into the void.
Apply Joint Compound Over the Mesh
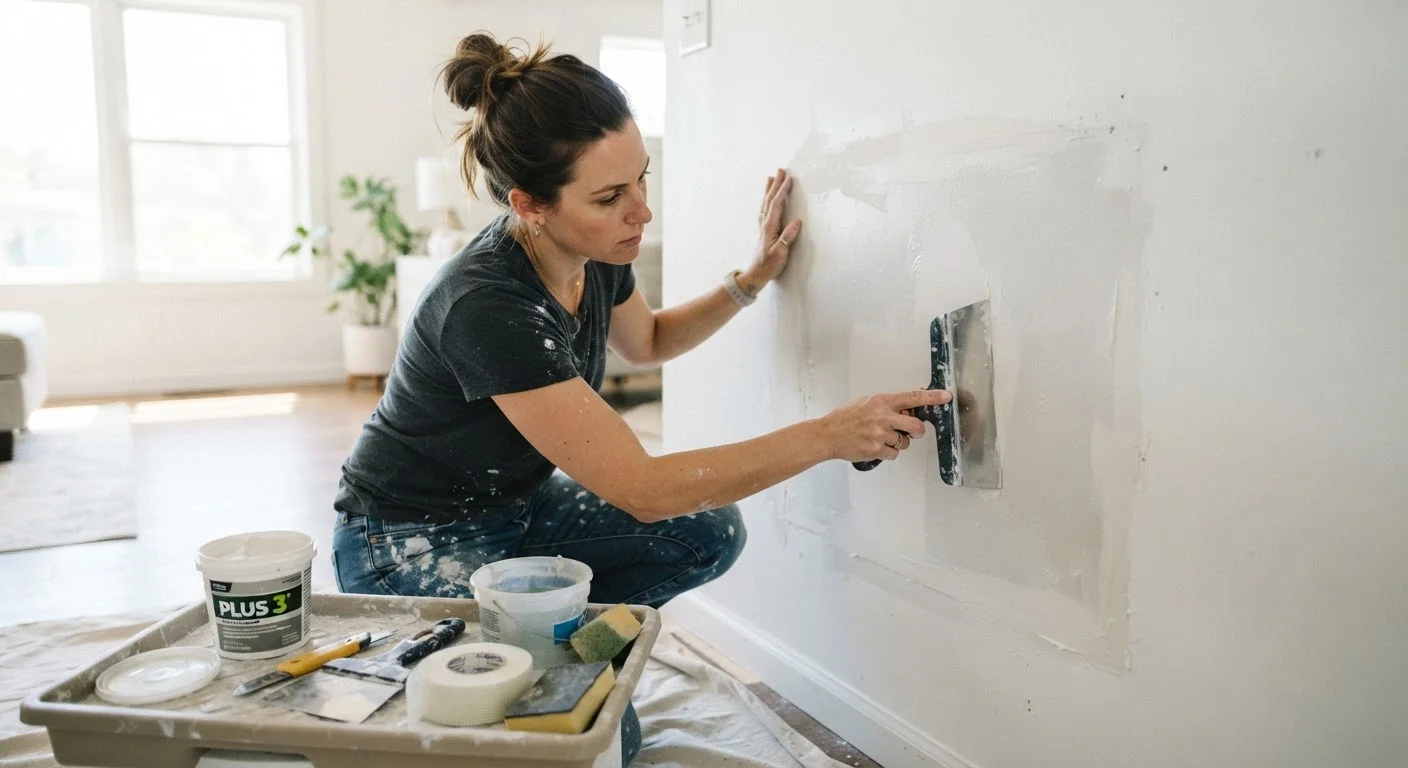
Load your 6-inch putty knife with all-purpose joint compound and spread it in a thin, even layer over the mesh, pressing it into the weave. Extend the compound 2-3 inches beyond the patch edges. This first coat does not need to be perfect - it just needs to cover the mesh completely. Allow to dry fully (typically overnight), then sand lightly with 120-grit paper. Apply a second coat wider than the first, feathering the edges. A third thin coat is often needed for a flush finish.
Install a Backer and Cut Patch for Large Holes (Over 4 Inches)
Use a drywall knife and straightedge to cut the ragged hole into a clean square or rectangle. Cut a furring strip or 1×3 lumber several inches longer than the opening's height. Slide it behind the wall through the opening, hold it flush against the back of the drywall, and drive drywall screws through the existing wall into both ends of the strip. Cut a replacement piece of drywall to fit the opening exactly, then screw it into the backer. Apply joint compound over all seams and screw dimples, embedding paper drywall tape along the seams. Build up with two to three feathered coats, sanding between each.
Sand, Prime, and Paint
Once the final coat is fully dry, sand the entire repaired area smooth with 220-grit paper, starting at the edges and working inward. Wipe away all dust with a barely damp cloth and let the surface dry. Apply a coat of drywall primer and allow it to dry per the manufacturer's guidance. Finish with your matching topcoat paint. For the most invisible result, paint the entire wall panel rather than spot-painting over the patch.
Work in Thin Coats for Best Results
Thick applications of joint compound trap moisture inside, leading to cracking and shrinkage that shows up after painting. Thin coats - no more than ⅛ inch per pass - dry more reliably and sand more easily. Patience between coats is the single biggest factor in a professional-looking finish.
Getting a Smooth, Paint-Ready Finish
The most common reason a patch shows through paint is skipping sanding or applying compound too thickly. Here's how to close out the job cleanly:
- Sand lightly between coats. Use 120-grit sandpaper after each dried coat, then wipe away dust with a barely damp cloth before adding the next layer.
- Feather the edges. Extend each coat slightly wider than the last, blending the compound gradually into the surrounding wall. This eliminates visible ridges.
- Prime before painting. Unprimed compound is more porous than the existing wall surface, causing paint to absorb unevenly-called flashing. A coat of drywall primer solves this.
- Match sheen and texture. If the surrounding wall has a texture (orange peel, knockdown), recreate it before priming. Smooth walls are more forgiving.
Allow the final coat of compound a full 24 hours to cure in normal indoor conditions before sanding and priming. High humidity can extend drying time noticeably.
Sanding Drywall Compound Creates Fine Dust
Drywall dust is a nuisance and a respiratory irritant. Always wear an N95 particulate respirator when sanding, and close doors to adjacent rooms to contain the dust. Wipe surfaces with a damp cloth rather than dry-sweeping so dust doesn't re-circulate in the air.