Is Your System Compatible?
Before ordering a smart thermostat, confirm your heating and cooling system will work with one. The vast majority of forced-air systems - gas furnaces, central air conditioners, and heat pumps - use low-voltage (24V) wiring that smart thermostats are designed for. However, a few system types are not compatible with standard smart thermostat models:
- High-voltage electric baseboard heaters - these run on 120V or 240V and require a thermostat rated for line voltage.
- Steam or hot-water boilers - compatibility varies widely; check the thermostat's spec sheet against your system type.
- Proprietary HVAC systems - some multi-zone or commercial-grade setups use non-standard communication protocols.
If you're uncertain which type of system you have, look at your current thermostat: if the wires behind it are thin (roughly the diameter of a pen), you almost certainly have a low-voltage system. Thick wires or wires going directly into a circuit breaker indicate a high-voltage setup - in that case, stop and consult a licensed electrician. For broader smart home planning context, see our room-by-room smart home guide.
What you will need
What You'll Need
Gather the following before you start. Having everything within reach prevents mid-installation interruptions.
Flathead and Phillips screwdrivers
Removing the old thermostat cover and mounting screws, and securing the new base plate.
Smartphone camera
Photographing the existing wiring before disconnecting anything - this is your reference map.
Masking tape and marker
Labeling each wire with its terminal letter before removal to prevent mix-ups.
Small bubble level
Ensuring the new base plate is mounted straight for a clean, professional finish.
Needle-nose pliers
Straightening or repositioning wire ends that have bent from years of use.
Step-by-Step Installation
Follow these steps in order. Don't rush - a careful 45-minute installation is far better than a quick one that requires rework.
Turn off power at the breaker
Go to your electrical panel and switch off the breaker labeled for your furnace, air handler, or HVAC system. Return to the thermostat and verify the display has gone dark. If your thermostat runs on batteries and the display stays on, that's normal - the breaker cuts power to the heating and cooling equipment, which is what matters.
Remove the old thermostat and photograph the wiring
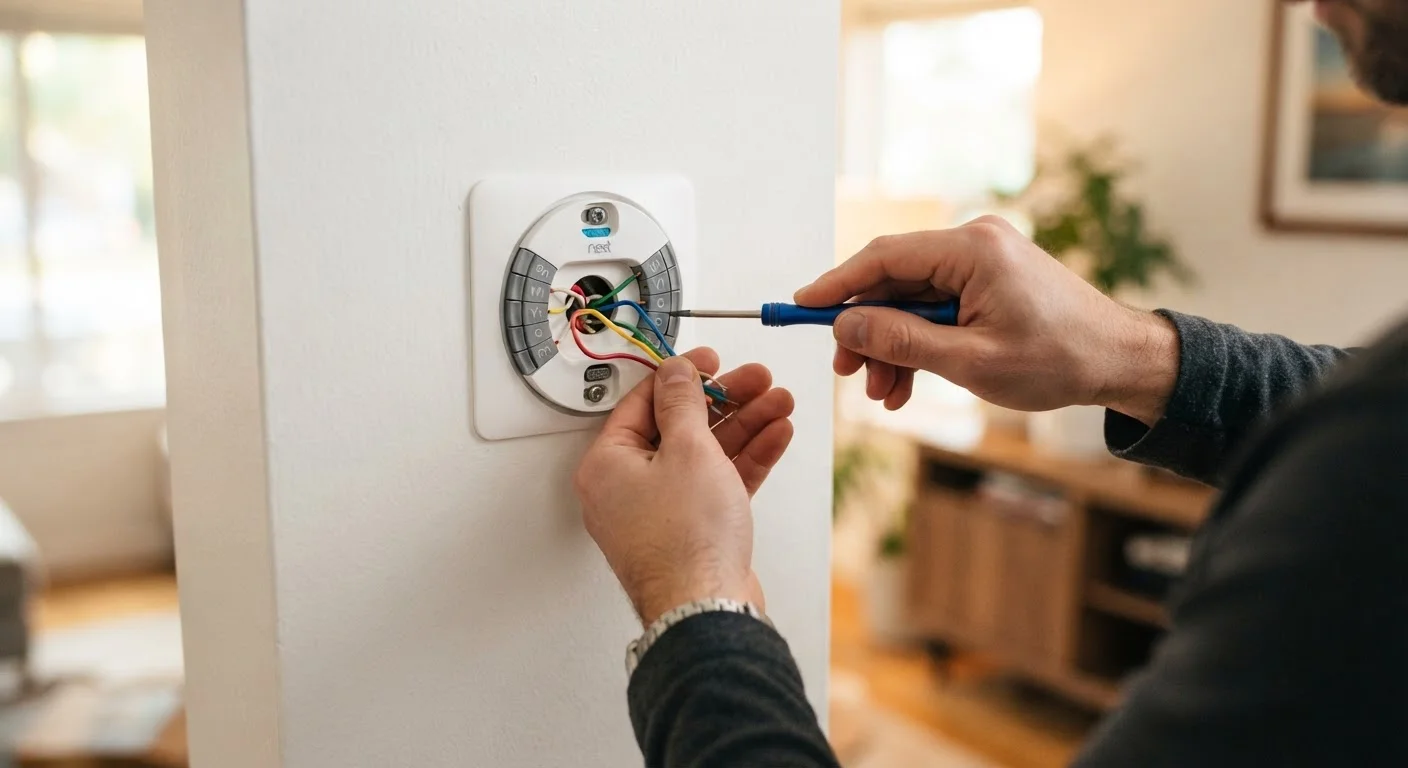
Pull or unclip the old thermostat body from its wall plate. You'll see a cluster of thin, color-coded wires connected to labeled terminals. Before touching anything, take several clear photos with your phone. Then use masking tape and a marker to label each wire with its terminal letter (R, G, Y, W, C, etc.) before disconnecting it. Wires vary in color between manufacturers, so the terminal letter - not the color - is what matters.
Mount the new base plate
Thread the wires through the opening in the new base plate. Hold the plate against the wall, use a small level to align it, and mark the screw holes with a pencil. Drill or push in the included wall anchors if needed, then secure the plate with the provided screws. The plate should sit flush and firm - any wobble will cause connection problems later.
Connect the wires to the new terminals
Using your photos and tape labels as a guide, insert each wire into the matching terminal on the new base plate. Most smart thermostats use push-in connectors - strip about ¼ inch of insulation if needed, then press the wire in until it clicks or seats firmly. Pull gently on each wire to confirm it's secure. If your system lacks a C-wire and the thermostat requires one, now is the time to install the included C-wire adapter per the manufacturer's instructions.
Attach the thermostat body and restore power
Snap or slide the thermostat display unit onto the base plate until it clicks into place. Return to the electrical panel and restore the breaker. The thermostat should power on within a few seconds. If it doesn't, re-check that the R-wire terminal is fully seated.
Complete setup in the app
Open the manufacturer's app and follow the in-app setup wizard. You'll confirm your wiring configuration, connect to your Wi-Fi network, and set your home's heating and cooling preferences. Take a few minutes to configure a basic schedule - even a simple one - as this is where most of the energy-saving benefit comes from.
When to Stop and Call a Pro
If you open your wall plate and find wires thicker than a pencil, wiring with no clear terminal labels, or more than eight wires, don't proceed. These are signs of a high-voltage, proprietary, or complex multi-zone system. Continuing without professional assessment risks equipment damage or a safety hazard. A licensed HVAC technician or electrician can assess the setup quickly and install the correct thermostat for your system.
Troubleshooting Common Issues
Even a careful installation can hit snags. Here are the most common problems and how to address them:
- Thermostat display won't turn on
- Double-check that the breaker is restored and that all wire terminals clicked firmly into place. A loose R-wire (the power wire) is the most frequent culprit.
- Heating or cooling won't activate
- Confirm your wires match the labels the app assigned during setup. A wire in the wrong terminal - particularly confusing the G (fan) and Y (cooling) terminals - will produce exactly this symptom.
- "No C-wire detected" error
- Use the adapter kit included with many thermostats, or check whether your furnace control board has an unused C terminal you can run a wire from. This is the single most common installation obstacle.
- Wi-Fi won't connect
- Smart thermostats typically connect to 2.4 GHz networks only. If your router broadcasts a combined 2.4/5 GHz network under one name, temporarily separate them in your router settings during setup.
If you've worked through these steps and the system still isn't functioning, that's a reasonable point to call in a professional. Knowing where the DIY line is can save both time and money - our DIY vs. calling a professional guide can help you think through that decision.