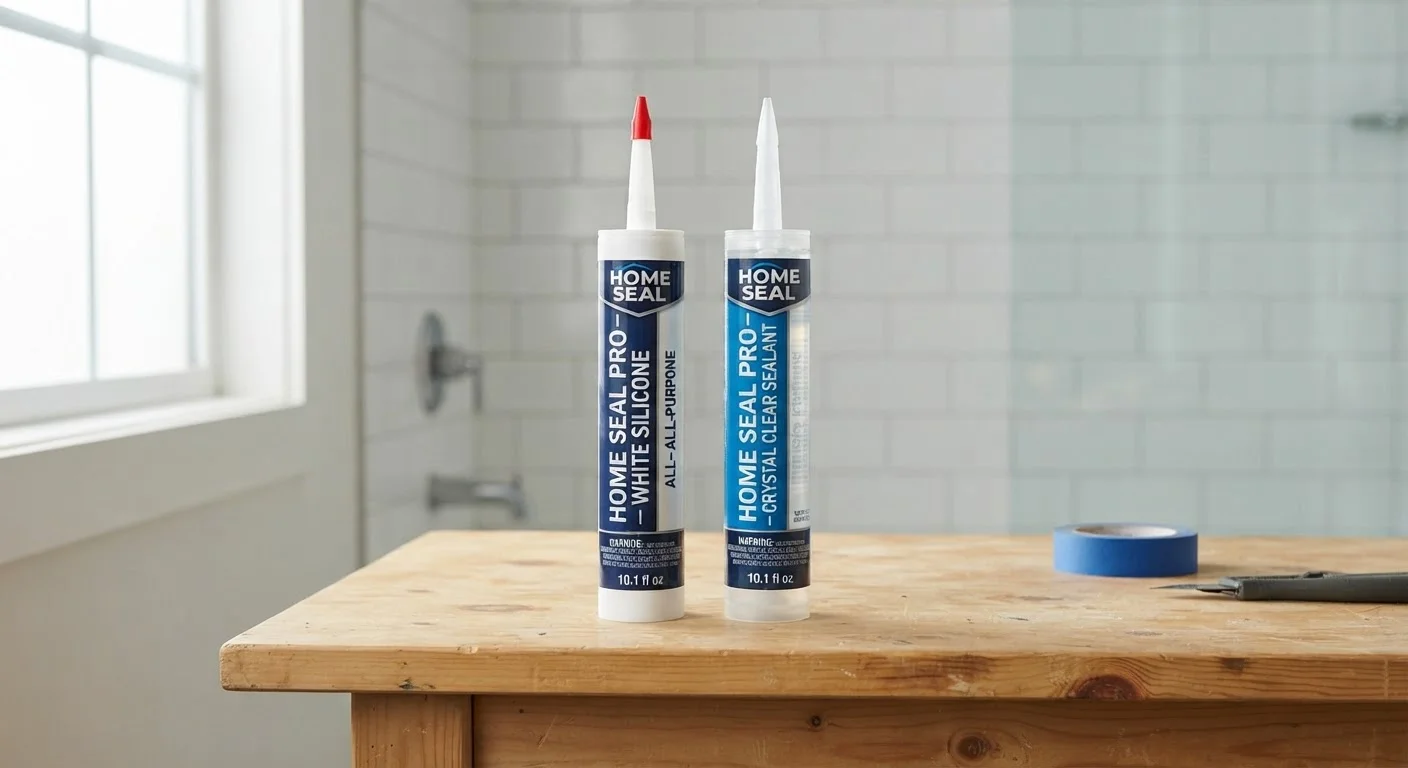
What Actually Separates Caulk from Sealant
At the hardware store, caulk and sealant are often shelved together in similar-looking tubes, which leads many homeowners to treat them as interchangeable. They're not. The core difference comes down to flexibility and moisture resistance after the product cures.
Caulk - most commonly acrylic latex caulk - dries to a relatively firm, paintable finish. It bonds well to porous materials like wood, drywall, and plaster, and it's designed for joints that don't move much. Because it's water-based, cleanup is easy and paint adheres directly to it once dry.
Sealant - typically silicone or a silicone-hybrid formula - stays pliable long after it cures. That flexibility allows it to absorb the natural expansion and contraction of materials caused by temperature swings or structural settling. It also creates a waterproof, airtight bond on non-porous surfaces like glass, glazed tile, and metal. The trade-off: most silicone sealants cannot be painted over.
Think of caulk as a filler that happens to seal, and sealant as a barrier that happens to fill gaps. That mental model helps you reach for the right product the first time. For a broader look at home sealing materials, see our guide to caulk, grout, and weatherstripping.
| Criterion | Caulk | Sealant |
|---|---|---|
| Flexibility after cure | Rigid to semi-rigid | Remains flexible |
| Paintable | Yes | Generally no (silicone) |
| Water resistance | Low to moderate | High |
| Best surface type | Porous (wood, drywall) | Non-porous (tile, glass, metal) |
| Typical use location | Dry interior joints | Wet areas and exteriors |
| Mold resistance | Low | High (silicone formulas) |
| Cleanup | Water (while wet) | Mineral spirits or solvent |
Where Each Product Belongs in Your Home
Matching the product to the location is the most practical way to avoid callbacks - those frustrating moments when a seal fails within a year and you have to redo the work.
~10 yrs
Typical lifespan of silicone sealant in wet areas
Silicone sealant around tubs and showers generally lasts 7-10 years before moisture or movement causes visible cracking or separation.
2-5 yrs
Common lifespan of standard latex caulk
Acrylic latex caulk in low-movement interior joints typically holds up for several years, though painted-over caulk may last longer by being shielded from UV and humidity.
Use Caulk For:
- Interior trim and baseboards - gaps between molding and drywall are stable and need a finish that accepts paint.
- Crown molding joints - small gaps at ceiling-wall junctions are rarely wet and benefit from a smooth, paintable surface.
- Window and door casings indoors - the joint between casing and drywall needs filling before painting, not waterproofing.
Use Sealant For:
- Bathtub and shower surrounds - the joint where the tub meets tile or the wall flexes slightly with every use; only a flexible, waterproof sealant holds up.
- Kitchen sink perimeter - constant water exposure and the weight of the sink create movement that caulk can't accommodate long-term.
- Exterior window and door frames - thermal cycling causes frames to expand and contract; sealant maintains the seal through those cycles.
- Gaps around pipes or vents penetrating exterior walls - moisture infiltration and air leakage demand a durable, weatherproof bond.
One area that trips people up is the joint where a tile backsplash meets a countertop. Even though it's indoors, this joint experiences enough movement from daily use that sealant is the smarter choice. Similarly, if you're unsure whether a wall repair needs caulk or a patching compound, our comparison of spackling and joint compound can help you decide.
Application Tips That Make Either Product Last
Even the right product fails early if it's applied over a poorly prepared surface. A few habits dramatically extend the life of any seal:
- Remove the old material completely. Applying new caulk or sealant over degraded product is one of the most common DIY mistakes. Use a plastic scraper or a dedicated removal tool, then clean the surface with rubbing alcohol or a mild cleaner and let it dry fully.
- Cut the tube nozzle at a shallow angle. A 45-degree cut about 3/16 inch from the tip gives you a controlled bead. Cutting too wide makes a messy application that's hard to smooth.
- Apply in one continuous pass. Start at one end and move steadily. Stopping and restarting leaves lumps and weak spots.
- Tool the bead immediately. A dampened fingertip or a caulking tool pressed along the bead presses the product into the joint and creates a clean, concave profile that sheds water.
- Respect the cure time. Silicone sealants typically need 24 hours before water exposure. Read the product label - rushing this step invites early failure.
Temperature matters too. Most products should be applied when the surface temperature is between roughly 40°F and 90°F. Applying sealant in very cold conditions can extend cure time significantly and may affect adhesion.