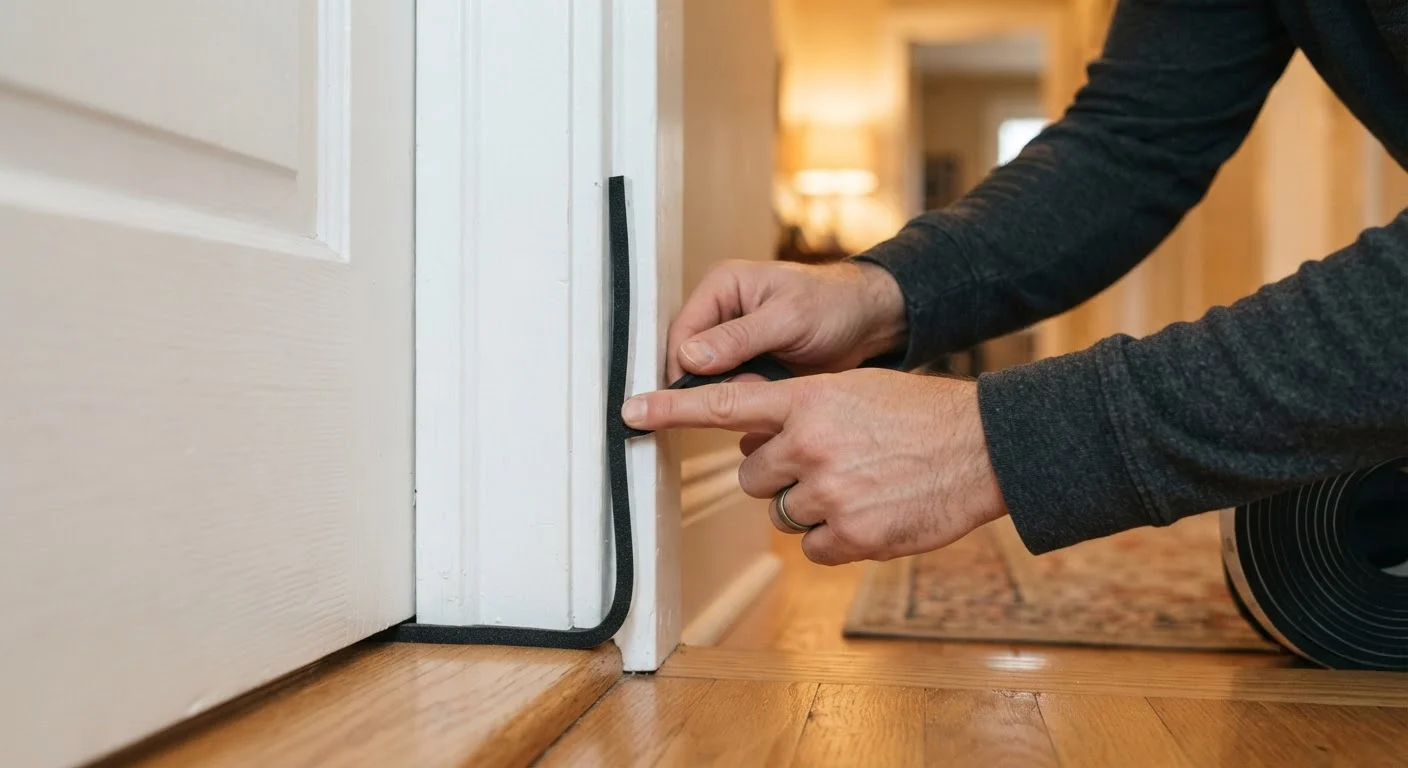
Why Weatherstripping Fails - and How to Spot It
Weatherstripping creates the flexible seal between a movable surface - a door or window sash - and its fixed frame. Unlike caulk, which bonds rigid surfaces together, weatherstripping is designed to compress and recover thousands of times. That repeated flexing, combined with UV exposure, temperature swings, and everyday wear, eventually causes it to crack, flatten, or peel away. (For a broader look at which seal type fits which situation, see our guide on caulk, grout, and weatherstripping differences.)
Before replacing anything, do a systematic inspection. On a bright, sunny day, close each door and window fully, then darken the room and look for thin lines of light around the perimeter - visible light almost always means detectable airflow. Alternatively, hold a stick of incense near the edges on a windy day; smoke that wavers or gets pulled toward the gap confirms a leak. Feel along the frame with your palm for cold air infiltration in winter. Any weatherstripping that feels brittle, shows visible cracking, or no longer springs back when pressed should be replaced.
Test in Multiple Seasons if Possible
Wood frames expand in humidity and contract in cold, so a door that seals perfectly in summer may gap in winter. If you can, note where drafts appear in cold weather and address those spots with a slightly more compressible material to accommodate seasonal movement.
Choosing the Right Weatherstripping Material
Not all weatherstripping performs the same job. Matching material to location makes the difference between a seal that lasts a year and one that lasts a decade.
- Foam tape (open- or closed-cell): Easiest to install; best for low-traffic windows and the tops of doors. Closed-cell foam is more durable and resists moisture better than open-cell.
- V-strip (tension seal): A durable folded plastic or metal strip that fits into the channel of a door or window jamb. Works well on sliding windows and the sides of doors subject to regular use.
- Door sweeps and door shoes: Seal the gap at the bottom of exterior doors, where drafts are often worst. Sweeps attach to the face of the door; door shoes wrap around the bottom edge for a tighter fit.
- Felt: Inexpensive but absorbs moisture and compresses quickly - appropriate mainly for low-traffic interior closets or as a temporary fix.
- Reinforced silicone or rubber bulb strips: Long-lasting and highly compressible; ideal for exterior doors and casement windows that see temperature extremes.
What you will need
Room-by-Room Walkthrough
Entry and exterior doors are your highest priority. These doors typically take the most abuse and lose their seal first. Check all four sides: the top (door stop), both side jambs, and the door bottom. Replace the door sweep or shoe first since the gap at the floor is usually the largest source of infiltration. Install V-strip along the side jambs by pressing it into the channel with the open side of the V facing outward. For the door stop at the top, foam or rubber compression strips work well.
Interior doors between conditioned and unconditioned spaces - such as a door to an attached garage or to a basement - warrant the same treatment as exterior doors. Other interior doors generally don't require weatherstripping unless you're managing sound or dust rather than air leaks.
Double-hung windows (the most common window type in American homes) lose their seal at the upper and lower sash rails and at the side channels. V-strip is the material of choice for the sides; foam tape works for the rails. Raise the lower sash and apply foam tape to the upper face of the bottom rail, then lower the sash to compress it.
Casement and awning windows compress against a perimeter gasket when latched. If the latch mechanism is in good shape but drafts persist, the existing gasket has likely compressed permanently. Peel it out and press in a replacement compressible foam or rubber bulb strip sized to the channel groove.
Basement and utility room windows are easy to overlook. These areas tend to have older, single-pane windows with significant air gaps. Even simple foam tape applied around the sash perimeter can noticeably reduce cold air infiltration - a useful companion task when working through a home winterization checklist.
Installing Weatherstripping: Step-by-Step
Follow the steps below for the most common installation scenario: replacing compression or adhesive-backed weatherstripping on a door or window. Always work on one door or window at a time so you can compare results before moving on.
Remove the old weatherstripping
Peel or pry away the existing weatherstripping completely. For adhesive-backed strips, use a putty knife held at a low angle to lift the material without gouging the wood or metal frame. Remove all residual adhesive using rubbing alcohol or a mild adhesive remover on a clean cloth.
Clean and dry the surface
Wipe the entire jamb or channel with a clean cloth dampened with rubbing alcohol. Allow it to dry completely - at least 10 minutes - before applying new material. Any moisture or residue trapped under the new strip will shorten its life significantly.
Measure and cut the new strips
Measure each side of the door or window opening individually - frames are rarely perfectly square, and cutting all pieces to the same length can leave gaps at corners. Cut strips slightly long (about 1/8 inch), then trim to exact length with scissors or a utility knife. For door sweeps, measure the door width and cut squarely.
Install the new weatherstripping
Peel the backing from adhesive strips gradually as you press them into place rather than all at once - this prevents the strip from folding back on itself. Press firmly along the entire length. For V-strip without adhesive, tack it with small finish nails or brads every 2-3 inches using the pre-punched holes if present. For door sweeps, hold the sweep against the closed door bottom so it just contacts the threshold, then screw it in place.
Test the seal
Close the door or window firmly and recheck for light gaps and air movement. The door should close without requiring extra force and latch smoothly. If it binds, the new material may be too thick for the gap - try a thinner profile. If gaps remain, check whether the frame itself has warped or the door has settled on its hinges.
Don't Skip Surface Prep
Adhesive-backed weatherstripping applied to a dirty, oily, or damp surface will begin peeling within weeks. Taking an extra 10 minutes to clean and dry the jamb thoroughly is the single most effective thing you can do to extend the life of your new seal.
Making Your Work Last
Even quality weatherstripping won't last if the surface beneath it was poorly prepared. Clean and completely dry jambs ensure adhesive bonds properly; oily or dusty surfaces cause premature peeling. After installation, test every door and window you've sealed: close it firmly and check for remaining light gaps or cold spots. Adjust the door's hinges or strike plate if the door doesn't close evenly - a misaligned door prevents weatherstripping from compressing uniformly.
Plan to inspect weatherstripping once a year, ideally in early fall before heating season. Catching minor compression or cracking early means a quick patch rather than a full replacement. Persistent drafts after new weatherstripping may point to larger structural issues - learn what other home symptoms can signal so you know when to investigate further.