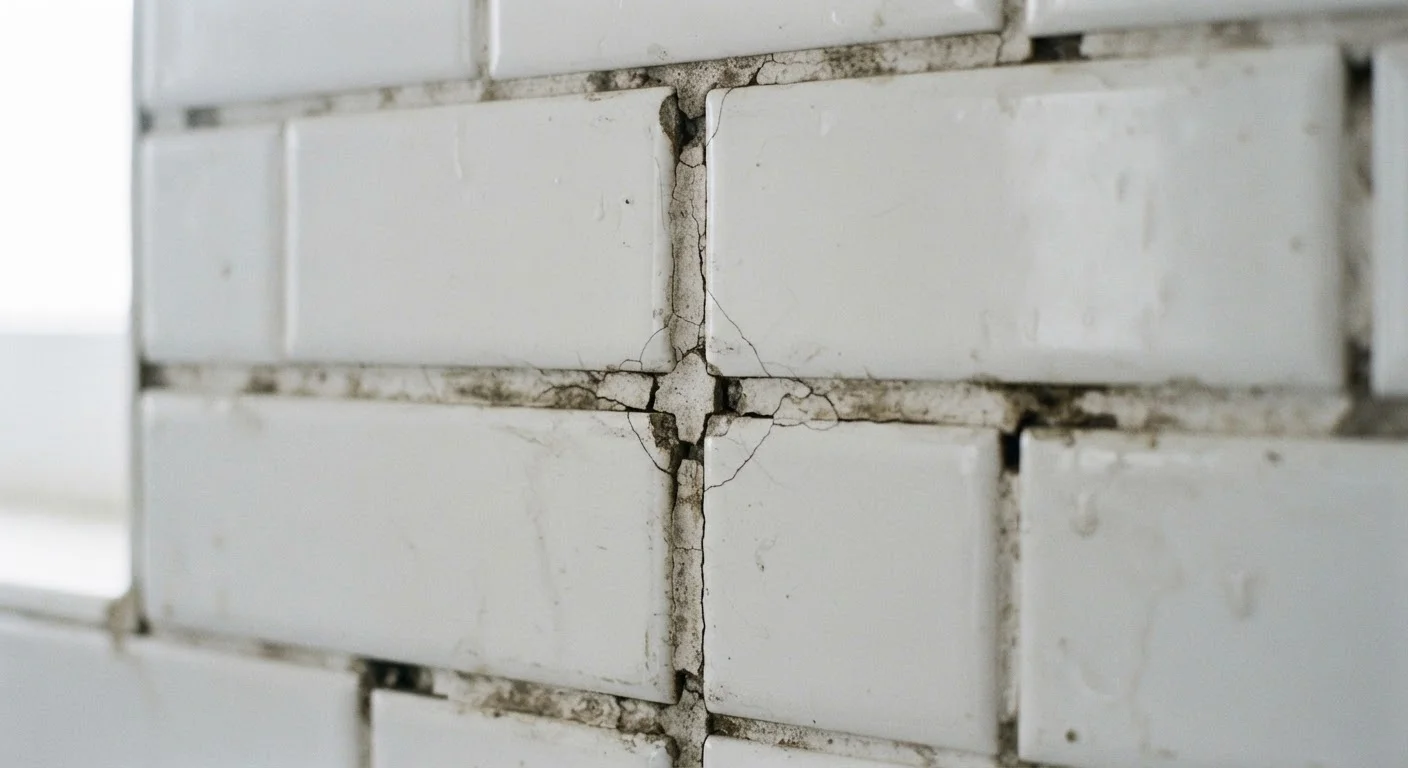
What Actually Causes Grout to Crack
Grout is rigid by nature, so it has little tolerance for the everyday movement that occurs in homes. Several conditions set the stage for cracking:
- Subfloor movement or deflection: When a floor flexes slightly underfoot - common in wood-framed homes - it places stress on grout joints that can't bend. Over time, those joints crack.
- Missing or inadequate expansion joints: Large tiled areas need soft joints (filled with caulk, not grout) at intervals to absorb movement. Without them, thermal expansion forces the grout to carry stress it wasn't meant to handle.
- Improper installation: Grout mixed with too much water, applied before the tile adhesive has fully cured, or used in too-thin joints is inherently weaker and more prone to cracking.
- Home settling: As a structure settles gradually over years, slight shifts in framing or foundation can transfer stress to tile surfaces, causing grout to fracture.
- Using the wrong grout type: Unsanded grout in wide joints or sanded grout in very narrow joints both lead to premature failure.
Understanding which cause applies in your home helps you make a smarter repair - and avoid repeating the same mistake.
Sanded vs. Unsanded Grout: A Quick Guide
Sanded grout contains fine sand particles that add strength and are suited for joints wider than ⅛ inch. Unsanded grout is smoother and is used in narrower joints or on tile surfaces that sand could scratch, such as polished marble or glass tile. Using the wrong type for your joint width is a common cause of early cracking.
How to Assess the Damage Before You Start
Not every crack is a repair emergency, but all cracks deserve a quick evaluation. Here's how to read what you're looking at:
- Check for hollow tiles: Tap each tile near the cracked joint with a knuckle or coin. A hollow sound suggests the adhesive bond beneath has failed. If tiles are loose, regrouping alone won't fix the underlying problem - the tiles may need to be reset.
- Look for moisture or discoloration: Dark staining, efflorescence (white, chalky deposits), or soft wall material near cracked grout indicates water has already been getting in. This changes the scope of the job.
- Gauge the extent: Isolated cracks in one or two joints are straightforward DIY repairs. Widespread cracking across many joints or large sections points to a systemic cause - floor deflection, for example - that surface repairs won't resolve on their own.
If moisture damage or substrate problems are present, consult a licensed tile contractor before proceeding. For surface-level cracks on a solid substrate, repointing is a manageable weekend project.
How to Repoint Cracked Grout Step by Step
Repointing means removing the damaged grout and replacing it with fresh material. Here's how the process works:
What you'll need
- Grout saw or oscillating tool with a grout-removal blade
- Vacuum or shop vac
- Matching grout (sanded or unsanded, as appropriate for joint width)
- Grout float
- Large sponge and two buckets of clean water
- Grout sealer
The process
- Remove the old grout: Use a grout saw or oscillating tool to carefully rake out cracked grout to a depth of about 3mm (roughly ⅛ inch). Work slowly to avoid chipping tile edges. Vacuum thoroughly when done.
- Mix the grout: Follow the manufacturer's ratio exactly - adding extra water is one of the most common mistakes. Mix to a peanut-butter-like consistency.
- Apply with a float: Press grout diagonally across the joints using the grout float, working it firmly into the gaps. Remove excess from tile faces as you go.
- Clean up: After 15-20 minutes, use a damp (not soaking) sponge in circular motions to remove haze. Rinse the sponge frequently. Polish with a dry cloth once the haze fully dries.
- Seal after curing: Once the grout has cured per the label instructions - typically 48-72 hours - apply a penetrating grout sealer to resist moisture and staining.
For corners and the joint where a tub meets tile, grout is not the right material. Those areas require flexible caulk. See our guide to caulk vs. grout for a clear explanation of where each belongs.
Test Your Grout Color Match First
Before mixing a full batch, apply a small amount of new grout to an inconspicuous joint and let it dry completely. Grout color can look quite different wet versus dry, and comparing a dry sample to your existing grout saves you from a visible mismatch across a large repair area.
Preventing Future Grout Cracks
A few habits and decisions at installation time dramatically reduce the likelihood of future cracking:
- Ensure a rigid substrate: Tile should be installed over cement backer board or a similarly stable surface, not directly over drywall in wet areas or over a springy subfloor.
- Use appropriate expansion joints: On floors larger than roughly 20-25 square feet, include soft caulk-filled joints every 8-12 feet and at all changes in plane (e.g., where floor meets wall).
- Select the correct grout for the joint width: Joints narrower than ⅛ inch call for unsanded grout; wider joints need sanded grout for strength.
- Seal regularly: Penetrating sealers on cement-based grout should be reapplied roughly every one to two years in high-traffic or wet areas, though always check the product's specific guidance.
If you're rethinking your tile work more broadly, our overview of tiling over existing tile covers the trade-offs worth understanding before you make a larger commitment.
~⅛ inch
Minimum grout removal depth for a sound repair
Tile industry guidelines generally recommend removing old grout to at least 3mm deep so fresh grout can bond securely to the joint walls rather than sitting on the surface.
48-72 hrs
Typical grout cure time before sealing
Most cement-based grout manufacturers specify a 48-to-72-hour curing window before sealer application; sealing too early can trap moisture and weaken the grout.
1-2 years
Recommended resealing interval for grout in wet areas
Tile industry professionals commonly suggest reapplying penetrating grout sealer annually or biannually in bathrooms, kitchens, and other high-moisture environments.