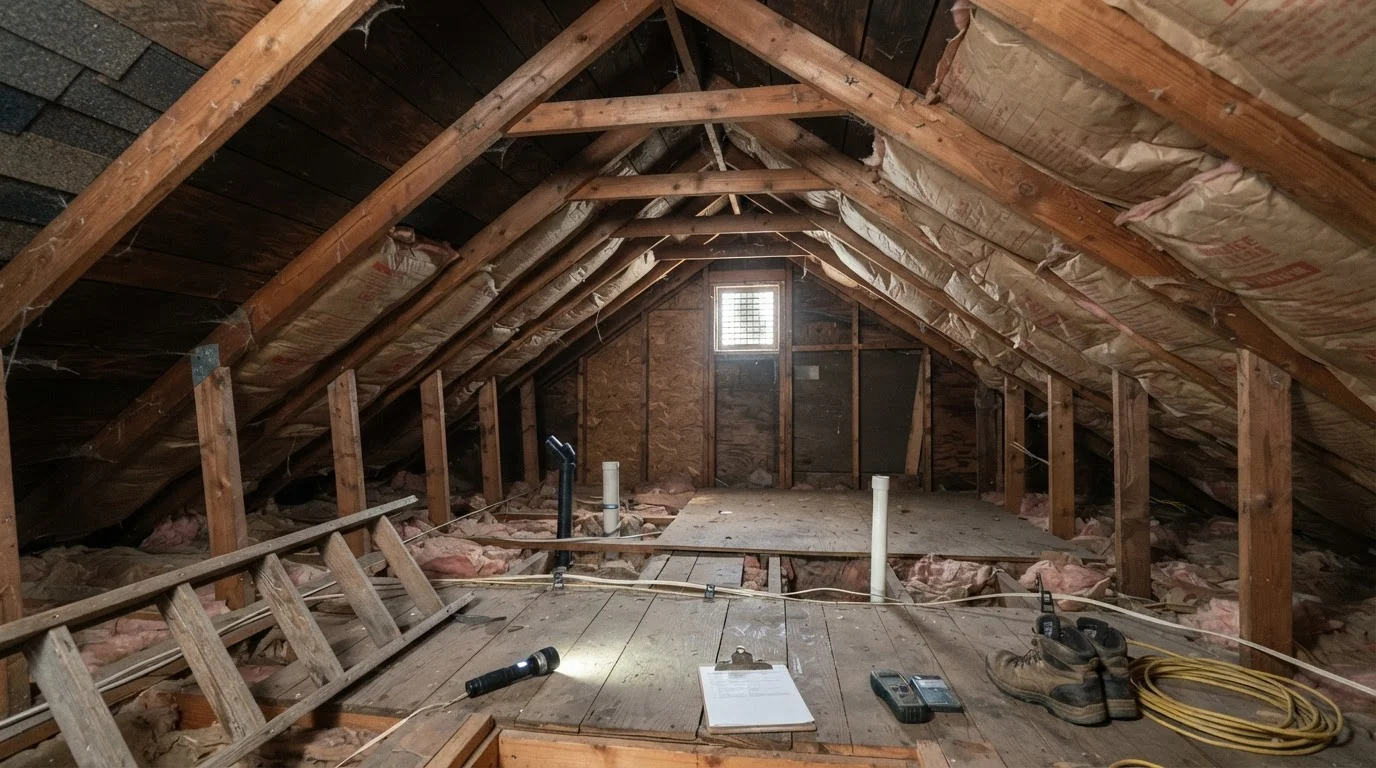
Why Your Attic Deserves a Dedicated Annual Check
Most homeowners spend time maintaining what they can easily see - walls, floors, appliances - and rarely think about the space above the ceiling. Yet the attic is where some of the most consequential problems in a home develop quietly over months or years. Moisture from a slow roof leak saturates insulation and feeds mold. Blocked vents allow heat to build in summer and condensation to form in winter. Rodents nest undisturbed until the damage is extensive.
A focused attic inspection once a year - particularly before heating season or after any significant storm - puts you in a position to catch these issues early, when they are still manageable and affordable to address. This checklist walks you through every major area to examine, what to look for, and when to call in a professional. Pair this habit with a broader routine using your home's annual maintenance calendar to keep all seasonal tasks organized.
Gather Your Tools and Stay Safe
Before you climb through the access hatch, spend five minutes assembling the right gear. The attic environment can be hostile - insulation fibers, dust, poor air circulation, and extreme temperatures are common. Protective equipment is not optional.
N95 Respirator Mask
Protects against insulation fibers, dust, and potential mold spores during the inspection.
Bright Flashlight or Headlamp
Illuminates dark corners, roof decking, and rafters where damage is most likely to hide.
Tape Measure or Ruler
Measures current insulation depth to compare against recommended levels for your climate zone.
Safety Glasses
Shields eyes from falling insulation debris and dust when looking upward at rafters.
Crawl Board or Plywood Scrap
Distributes your weight safely across joists so you don't risk falling through the ceiling below.
Smartphone or Camera
Lets you photograph any new damage or changes for year-over-year tracking and contractor discussions.
Moisture Meter
Detects elevated moisture levels in wood framing or sheathing before visible damage or mold appears.
Plan your inspection during mild weather when the attic is not dangerously hot. In most climates, late spring or early fall offers the most comfortable conditions. Avoid inspecting immediately after heavy rain if you suspect the roof may have leaks - wet conditions can make structural materials slippery and harder to assess accurately.
Work Through the Checklist Systematically
Move through the attic methodically rather than randomly. Start at the access hatch and work your way around the perimeter before moving toward the center. This approach ensures you don't miss corners and helps you map what you find relative to specific areas of the roof above.
Safety Preparation
Insulation Check
Ventilation Assessment
Moisture and Mold Detection
Structural and Pest Review
Take notes or photos as you go. A short log - even a few lines in a notes app with photos - gives you a baseline to compare against next year, making it much easier to notice whether a stain has grown or a soft spot has worsened.
When to Stop and Call a Professional
If you find active mold covering a significant area, evidence of structural sagging in rafters, or signs of active animal infestation, stop your inspection and contact a licensed contractor or certified inspector. Disturbing mold or compromised structural members without proper equipment and training can worsen the problem and create safety risks. Never attempt electrical work if you encounter exposed or damaged wiring in the attic - that always requires a licensed electrician.
Connecting Attic Health to the Rest of Your Home
What you find in the attic often reflects conditions elsewhere in your home. Ice dams on the roof in winter almost always trace back to attic heat loss combined with inadequate ventilation - the same conditions visible as condensation on your roof sheathing. Air leaks around recessed light fixtures and plumbing penetrations in the attic floor allow conditioned air to escape and drive up energy bills, making your insulation less effective than it appears on paper.
If your inspection turns up signs of moisture intrusion around the roof deck, cross-reference those findings with your roof's condition. Our roof maintenance guide covers the surface-level habits that complement what you observe from inside the attic. And if your home has been losing heat through gaps you can't fully trace, the room-by-room weatherstripping walkthrough can help you close air leaks throughout the envelope.
Never Walk on Drywall Between Joists
Standard ceiling drywall is not designed to bear body weight. Stepping between joists can cause you to fall through the ceiling, potentially resulting in serious injury. Always step directly on the wooden joists or place a crawl board across multiple joists before shifting your weight.
Exhaust Fans Venting Into the Attic Are a Code Violation
Bathroom and kitchen exhaust fans that terminate inside the attic - rather than through the roof or a wall - dump warm, moist air directly onto your insulation and roof sheathing, creating ideal conditions for mold growth. If you find this situation, have it corrected by a qualified contractor, as most local building codes require exterior termination.
Attic problems are rarely emergencies until they are ignored long enough to become one. A consistent annual habit - even a 45-minute walk-through with a flashlight - is among the most cost-effective preventive maintenance routines available to a homeowner.