Why These Settings Are Overlooked - and Worth Finding
The camera app on your phone ships with conservative defaults designed to produce acceptable results in most situations. Those defaults are a reasonable starting point, but they're deliberately cautious - and cautious settings often mean missed opportunities. Most people tap the shutter button without exploring what's a swipe or two away, partly because camera interfaces don't advertise their more powerful options.
The good news is that most of these settings require no photography knowledge to understand and no ongoing effort to maintain. Many are set once and quietly improve every photo you take from that point forward. For a broader look at phone settings that go underused, see the hidden settings that make your phone significantly easier to use.
What you will need
Before working through the steps below, take a few test photos in different lighting conditions - indoors, near a window, and outside. They'll give you a useful before-and-after reference as you apply each change.
Smartphone Camera App
The built-in camera application where all settings covered in this guide are found.
Photo Editing App
Used to take full advantage of RAW files if you enable that format; free options are available on both major platforms.
Step-by-Step: Activating the Settings That Matter
The settings below are available on the vast majority of modern smartphones, though the exact labels and menu locations vary by manufacturer and operating system version. If you can't find a specific option, search your phone's settings app for the setting name directly.
Turn on grid lines
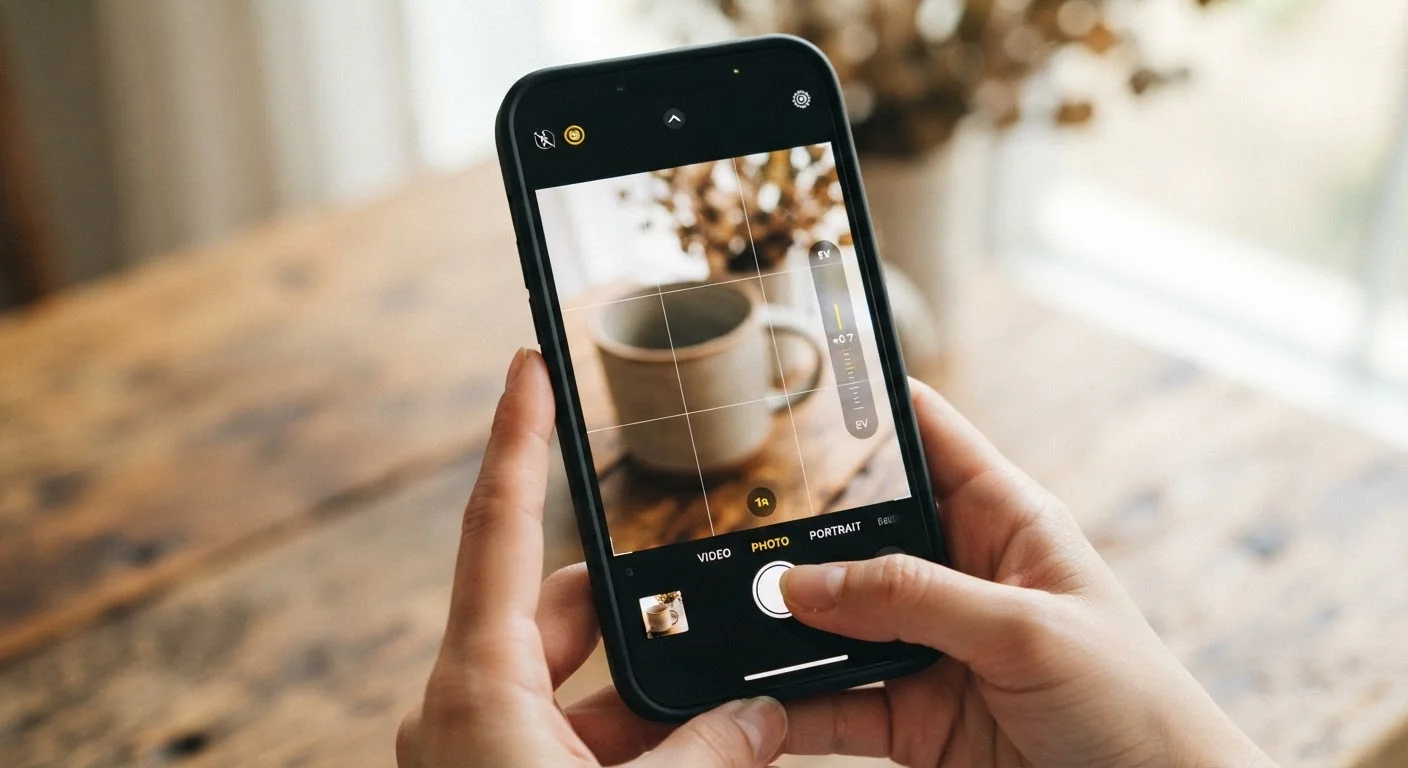
Open your camera app's settings menu and look for an option labeled Grid, Grid Lines, or Rule of Thirds. Toggle it on. A faint 3×3 grid will overlay your viewfinder. Use the intersection points - not the center of the frame - to place your main subject. This simple framing rule is the single fastest way to make ordinary snapshots look intentional and well-composed.
Lock exposure and focus separately
By default, your phone ties focus and exposure together: tap a subject, and the camera sets both brightness and sharpness based on that single point. For more control, press and hold on your subject until you see an AE/AF Lock banner (on iOS) or a lock icon (on many Android devices). Now you can drag the exposure slider up or down independently. This is especially useful when your subject is backlit or when the background is much brighter than your foreground.
Understand and control HDR mode
HDR (High Dynamic Range) takes multiple exposures in rapid succession and blends them so bright areas don't wash out and shadows retain detail. It genuinely helps in high-contrast situations - a sunny landscape, a window-lit room. However, HDR requires a fraction of a second to process multiple frames, which can cause motion blur if your subject moves. Set HDR to Auto in most conditions, but switch it off manually for action shots, sports, or anything that involves movement.
Switch to RAW format if you edit photos
JPEG compresses and processes your image the moment you shoot, discarding data permanently. RAW files store the unprocessed sensor data, giving editing software far more latitude to adjust exposure, white balance, and color without degrading quality. On iPhones with ProRAW support, look in Settings > Camera > Formats. On Android, check your camera's settings for a RAW or DNG toggle. RAW files are larger, so use this setting selectively if storage is limited.
Set your preferred aspect ratio intentionally
Most camera apps default to a 4:3 ratio, which matches the sensor's native proportions and captures the most image data. However, you may have it set to 16:9 (widescreen) or 1:1 (square) from a previous session and forgotten. Each ratio crops the image differently at capture time - you cannot recover cropped pixels later. Go into settings and consciously choose the ratio that matches how you plan to use the photo: 4:3 for prints and flexible editing, 16:9 for sharing to widescreen displays.
Enable a level or horizon guide for straight shots
Many camera apps include a level indicator - a small crosshair or line that turns solid when the phone is perfectly horizontal. Look for it under settings labeled Level, Horizon, or Shot Suggestions. This is especially useful for architecture, tabletop photography, or landscape shots where a tilted horizon is immediately noticeable. Enabling it costs nothing and prevents a surprisingly common error that would otherwise require a crop-and-rotate fix in editing.
Test Each Setting Before You Need It
Don't wait for an important moment to experiment with a new setting. Spend five minutes in a low-stakes environment - your kitchen, backyard, or a walk outside - deliberately testing each change. Seeing the difference firsthand is far more effective than reading about it, and you'll reach for the right setting instinctively when it counts.
Once you've worked through these adjustments, your camera's behavior will feel noticeably more responsive and predictable. These aren't workarounds - they're the controls your phone already has, waiting to be used. If you're also curious about how camera hardware specs translate to real-world results, understanding what camera specs actually mean provides useful context that applies to smartphone cameras as well.