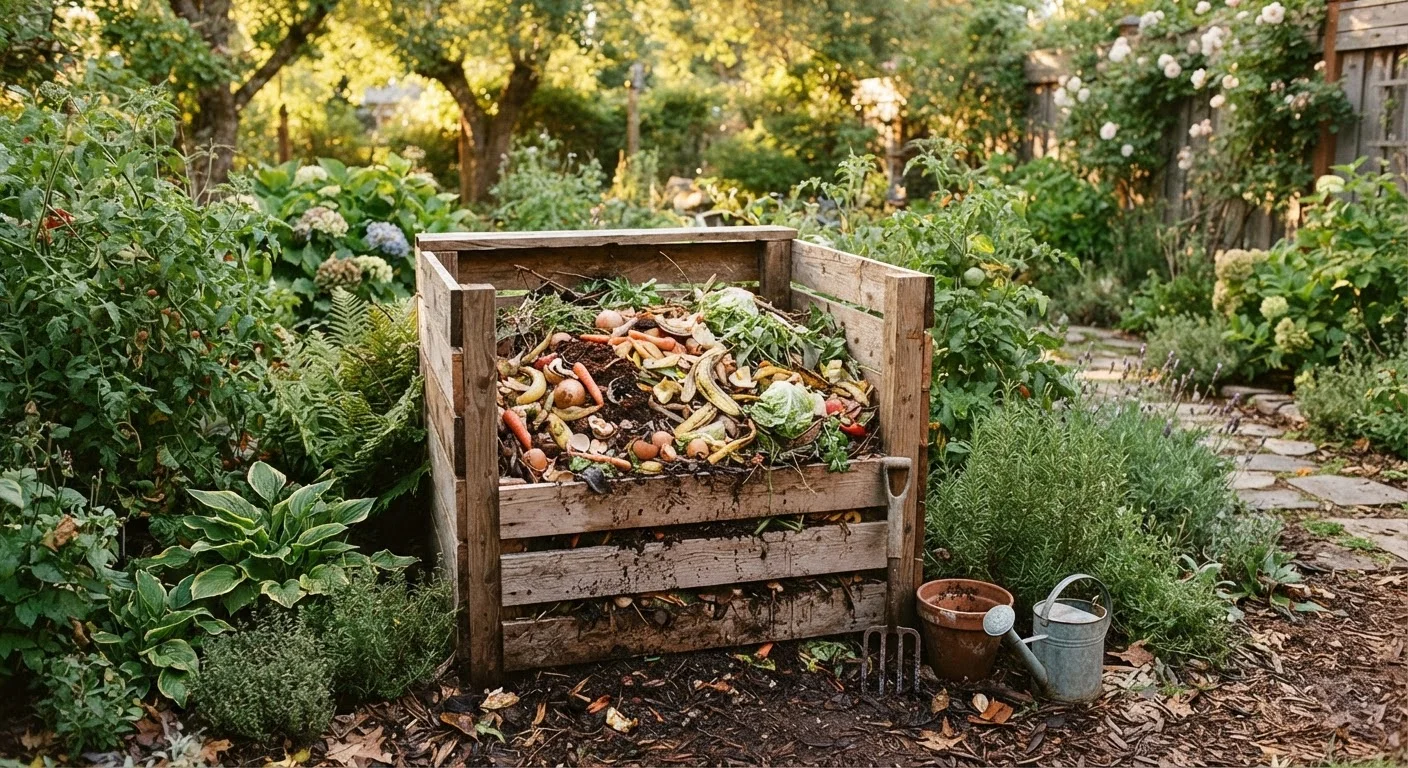
What Composting Actually Does
Composting is the controlled decomposition of organic matter - food scraps, yard trimmings, paper - into a dark, crumbly material called humus (pronounced hyoo-mus). Microorganisms, fungi, and invertebrates break down that material over time, releasing nutrients and creating a soil conditioner that benefits nearly every type of garden bed.
When you dig finished compost into your soil, it improves structure, helps sandy soil retain moisture, loosens clay-heavy soil, and feeds plants a slow, steady supply of nutrients. Think of it as a long-term investment in your garden's productivity rather than a quick fix. For a deeper look at what makes soil thrive, see how NPK, pH, and organic matter work together.
The process requires four basic ingredients: organic material, moisture, oxygen, and microorganisms. You're not manufacturing anything - you're just creating conditions for nature to do its work faster.
Composting Works in Small Spaces Too
You don't need a large backyard to compost. Compact tumblers, stacking worm bins, and countertop bokashi systems all work well on patios, balconies, or even inside apartments. Worm composting (vermicomposting) is especially effective indoors - a properly maintained bin produces no odor and processes food scraps quickly into nutrient-dense castings.
What to Add and What to Leave Out
Compost ingredients fall into two broad categories. Browns are carbon-rich materials: dry leaves, cardboard torn into small pieces, paper bags, straw, and wood chips. Greens are nitrogen-rich: vegetable peels, fruit scraps, coffee grounds, tea bags, fresh grass clippings, and plant trimmings. A general rule of thumb is to aim for roughly two to three parts browns for every one part greens by volume. Too many greens and your pile turns slimy and smells bad. Too many browns and decomposition slows to a crawl.
Safe to compost: fruit and vegetable scraps, eggshells, coffee grounds and filters, tea leaves, shredded newspaper, dry leaves, garden trimmings, and grass clippings.
Keep out of the pile: meat, fish, bones, dairy products, oily or greasy food, pet waste, diseased plants, and anything treated with pesticides. These materials attract pests, create odors, or introduce pathogens that a basic home pile won't reliably neutralize.
Avoid These Common Pile Problems
Adding meat, fish, bones, or dairy to an open outdoor compost bin is one of the most common beginner mistakes - these materials attract rodents and create persistent odors. Citrus peels and onion scraps are often debated, but in moderate amounts they're generally fine for most outdoor piles. Diseased plant material should never be composted in a home pile because the pathogens may survive and spread to your garden.
It's also worth checking common assumptions before you start - some widely repeated composting advice doesn't hold up as well as people think. Separating gardening fact from folklore can save you time and frustration.
Setting Up and Managing Your Compost System
Before you build anything, consider your space and situation. Homeowners with a yard generally have the most options. A simple three-sided wooden bin or a purchased plastic composter placed on bare soil works well. If you're in an apartment or have a small patio, a sealed tumbler or a countertop worm bin (called vermicomposting) can achieve similar results without odor or pests. Container gardeners and urban growers should know that finished compost integrates naturally into container mixes - see how to grow plants in limited spaces for more context.
What you will need
Once your system is in place, follow the steps below to build and maintain a productive pile. If this is your first time working with a yard or garden space, starting a garden from scratch offers helpful background on setting up your outdoor space from the ground up.
Choose and set up your composting container
Pick a spot that's convenient but not directly against your house - a few feet away from siding or fencing is ideal. Bare soil beneath the pile allows earthworms and beneficial organisms to migrate in. If you're using a bin with a base, place it on a level surface. For a basic open pile, mark out an area roughly three feet by three feet, which is a practical minimum size for heat to build up inside.
Start with a base layer of browns
Add a four- to six-inch layer of coarse, carbon-rich material at the bottom: dry leaves, small wood chips, or torn cardboard. This base layer improves airflow and drainage from the start, which helps prevent a waterlogged, anaerobic pile. Coarser material at the bottom also gives earthworms easier access from the soil below.
Layer your greens and browns as you add material
Each time you add a batch of kitchen scraps or fresh garden trimmings, cover them with a roughly equal-to-double volume of dry browns. This simple layering habit maintains the carbon-to-nitrogen balance naturally, prevents odors, and keeps flies away from exposed food material. Bury fresh scraps in the center of the pile rather than leaving them on top for best results.
Maintain moisture like a wrung-out sponge
Your pile should feel moist but not dripping. If it's too dry, decomposition slows because microorganisms need water to function. If it's too wet and compacted, the pile goes anaerobic - meaning it produces foul-smelling gases. Check moisture by squeezing a handful: you should see only a drop or two of water. During dry spells, add water with a hose or watering can. During heavy rain, cover the pile temporarily with a tarp.
Turn the pile regularly
Using a pitchfork or compost aerator, turn the contents of your pile every one to two weeks. Turning moves outer material toward the hot center, introduces fresh oxygen, and distributes moisture more evenly. An actively managed pile can produce finished compost in two to three months. A pile that's rarely turned may take six months to a year - both approaches work, just at different paces.
Harvest and use your finished compost
When the material at the bottom of the pile looks dark, uniform, and earthy-smelling - with no recognizable food scraps remaining - it's ready to use. Shovel finished compost into a wheelbarrow or bucket. Work two to three inches into garden beds before planting, use it as a half-inch top dressing around existing plants, or mix it into potting soil at roughly 20-30% by volume. Store unused compost in a covered bin or bag to preserve its moisture and microbial activity.
Finished compost is dark, earthy-smelling, and crumbly - similar in texture to coffee grounds. It's ready to work into beds, use as a top dressing around established plants, or blend alongside garden mulch for layered soil health benefits. Plan composting into your regular seasonal routine using a seasonal gardening task calendar so nothing gets neglected.