Why DIY Myths Persist - and Why They Matter
Home improvement advice travels fast - passed down from parents, shared in online forums, and repeated so often it starts to feel like settled wisdom. The problem is that some of the most widely repeated tips are simply wrong, and following them leads to wasted materials, failed projects, and sometimes real safety risks.
Understanding which beliefs don't hold up helps you work more efficiently and avoid the expensive do-overs that follow bad advice. This article examines the most common indoor DIY misconceptions and replaces them with what actually works. For a broader look at which tasks are genuinely safe to tackle yourself, see our guide to DIY vs. professional decisions.
Myth
You don't need primer if you're using a paint-and-primer-in-one product.
Fact
Paint-and-primer combos work for repaints over similar colors, but bare drywall, new plaster, and stained surfaces almost always require a dedicated primer coat.
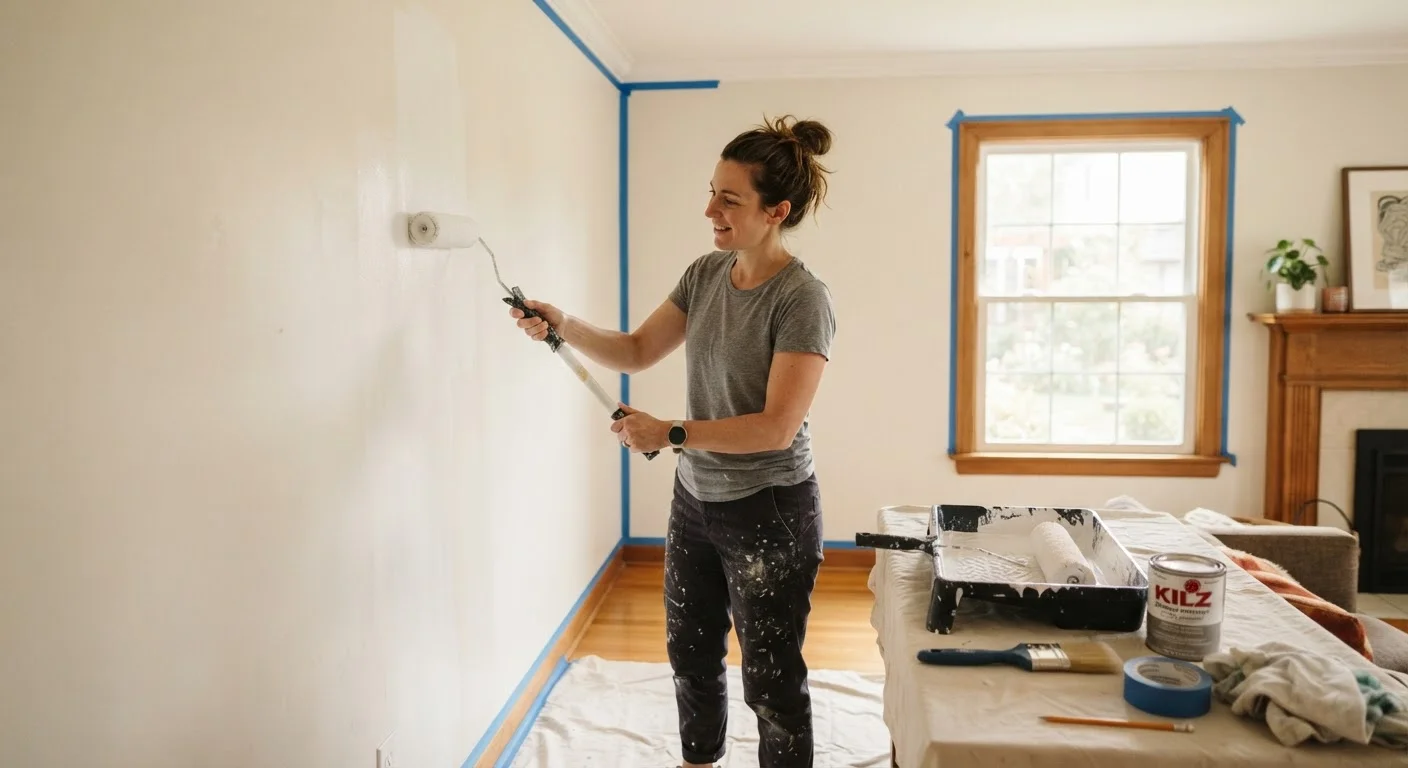
True primer chemically bonds to porous surfaces in a way that paint - even thickened, primer-labeled paint - doesn't fully replicate. On bare drywall, skipping a dedicated primer causes the paint to absorb unevenly, resulting in dull patches called flashing. Over stains, bleed-through will overpower even multiple paint coats. For straightforward repaints on clean, previously painted walls, an all-in-one product can be adequate. But for anything new, repaired, or heavily stained, a separate primer is the right starting point.
Myth
Two coats of paint always give better results than one.
Fact
The number of coats needed depends on the color change, surface condition, and paint quality - not a universal rule.
Applying unnecessary coats wastes time and material, and over-application can actually cause problems: thick paint takes longer to cure, is more prone to drips, and can crack as it dries on surfaces with any flex. A quality paint applied to a properly primed, clean surface often achieves full coverage in one coat when the color shift is modest. Where coverage genuinely does require two coats - such as going from a dark color to a light one - allowing each coat to dry fully before adding the next is what produces a smooth result, not simply adding more product.
Myth
Caulk and grout are interchangeable for sealing tile joints.
Fact
Grout is for filling joints between tiles; caulk is the correct material for corners, transitions, and anywhere two surfaces meet at an angle or move independently.
Grout is rigid and designed to fill flat, stable joints between tiles on a single plane. Corners, the joint where a tub deck meets wall tile, and transitions between different materials all experience slight movement - seasonal expansion, structural settling, and vibration. Rigid grout in these locations cracks reliably. Flexible siliconized caulk absorbs that movement without failing. Using grout at inside corners is one of the most common reasons tile installations develop cracked joints within a year or two of installation.
Myth
Tightening screws and bolts as firmly as possible makes fixtures more secure.
Fact
Over-tightening hardware is a leading cause of cracked tile, stripped threads, split wood, and broken toilet tanks.
Most fasteners are designed to be tightened to a specific point - snug, not strained. Ceramic and porcelain are brittle under compression; over-tightening toilet bolts or mounting screws cracks the base or tank. On drywall anchors, over-driving the screw pulls the anchor through the wall rather than locking it in place. For soft woods, stripped screws lose holding power entirely. The practical guideline: tighten until resistance is firm and the fixture doesn't move, then stop. When torque specs are provided (for plumbing fixtures, appliance connections), follow them.
Myth
You can paint over mold with a mold-resistant paint and the problem is solved.
Fact
Mold-resistant paint inhibits future mold growth on the paint surface; it does not kill existing mold or prevent regrowth from untreated underlying material.
Painting over active mold traps moisture and organic material under the film, where mold continues to grow. Within weeks or months, the paint bubbles, peels, and the mold reappears - often worse than before. The correct sequence is to identify and address the moisture source, clean or replace affected material according to appropriate remediation guidance, allow surfaces to dry completely, and then apply mold-resistant primer and paint as a preventive layer. For significant mold problems - particularly anything covering a large area or involving HVAC systems - professional remediation is the appropriate step.
The Prep Work Problem
Across nearly every indoor project - painting, tiling, patching drywall - the most consequential decisions happen before any product goes on the wall. Yet prep is exactly where most DIYers cut corners, often because myths tell them it's optional.
Surface preparation affects adhesion, coverage, and durability more than almost any product choice. Primer bonds to bare drywall and creates a consistent base; paint alone soaks into unpainted surfaces unevenly and requires far more coats to achieve even color. Similarly, clean, dry, sanded surfaces ensure that joint compound, caulk, and adhesive all bond correctly. Small preparation shortcuts tend to compound - a bubble under wallpaper or a hairline crack in grout expands over months into a much larger repair job.
Know When to Stop and Call a Pro
DIY confidence is valuable, but some discoveries mid-project - active mold beyond a small patch, wiring that doesn't match your home's age, or structural anomalies - mean it's time to stop work and consult a licensed professional. Proceeding past a point where you're uncertain about safety or code compliance can create hazards and costly repairs. Check local permit requirements before starting any project that involves plumbing, electrical, or structural changes.
For more on what goes wrong when prep steps are skipped, our article on shortcuts that come back to haunt you covers the specific decisions that cause the most downstream damage.
Working Smarter on Your Next Indoor Project
Correcting these myths doesn't make DIY harder - it actually simplifies your workflow. When you stop adding unnecessary coats of paint and start spending that time on surface prep, projects go faster and results hold longer. Selecting the right paint finish for each room (a decision that's often overlooked) is as important as color choice; our interior paint finishes guide explains when matte, eggshell, or satin is the right call.
It's also worth understanding how the products you use indoors can affect air quality. Paint, adhesives, and sealants all release compounds during and after application, so ventilation isn't optional - it's a basic safety step. See our indoor air quality and home improvement article for practical ventilation guidance. And when a project touches electrical panels, load-bearing walls, or gas lines, the right move is always to consult a licensed professional - no myth corrects for the risks involved in those systems.
~33%
DIY projects that require a professional redo
Industry estimates suggest roughly one in three DIY home improvement projects results in a professional being called to fix or redo the work, often due to skipped prep or incorrect materials.
80%
Of paint failures traced to surface prep
Paint industry guidance consistently attributes the large majority of adhesion failures, peeling, and uneven coverage to inadequate surface preparation rather than product defects.